After a project has been exported from the MCU Simulator Online, it can be read by a CS+ or e² studio Integrated Development Environment which has been installed in a PC environment. You can then start to evaluate the project on a real board.
Refer to the following pages for an overview of the products and the method of downloading. Each page also includes a link to the free evaluation edition of the given IDE.
Descriptions of porting to the respective environments are given below.
If code generation is performed by Smart Configurator after importing the project file, the project may fail to build. If a build error occurs, please refer to the following document.
Smart Configurator, Code Generator Project Porting Procedures for CS+ and e2 studio
After starting CS+, click on the [GO] button for [Open Existing MCU Simulator Online / e² studio / CubeSuite / High-performance Embedded Workshop / PM+ Project] on the [Start] panel to produce the [Open Project] dialog box.

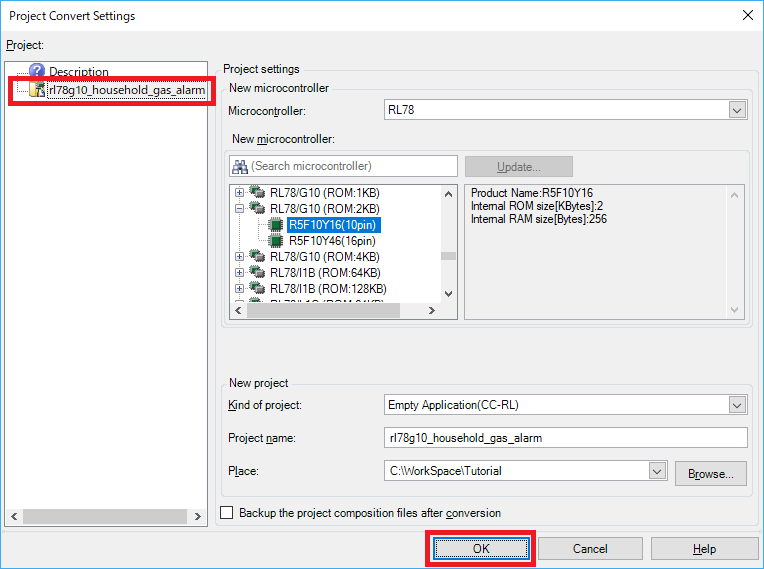
After that, select the project file (*.rcpc) which you have exported from the MCU Simulator Online to produce the [Project Convert Settings] dialog box.
Select the target project in the [Project] area of the [Project Convert Settings] dialog box, and click on the [OK] button.
Details for the [Project Convert Settings] dialog box >>
You have now completed importing the project to CS+.
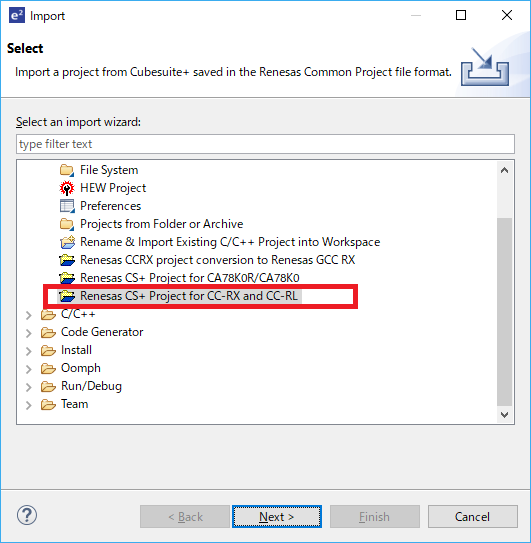
After starting the e² studio, select [Import…] from the [File] menu to produce the [Import] dialog box. Select the [Renesas CS+ Project for CC-RX and CC-RL] import wizard, and click on the [Next] button.
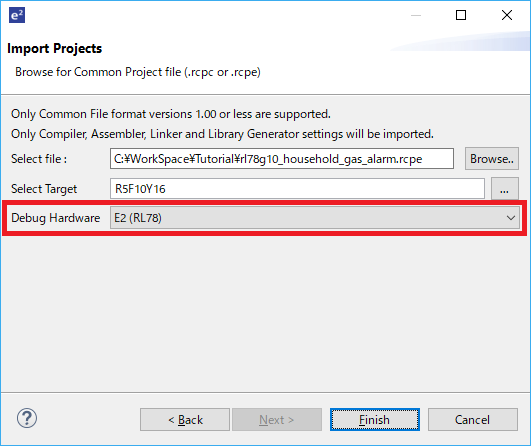
Select the project file (*.rcpe) which you exported from the MCU Simulator Online against [Select file]. The target microcontroller will automatically be entered against [Select Target] when you specify the project file. Select the emulator which you will be using for [Debug Hardware].
You have now completed importing the project to the e² studio.